
Contents
In the following code, we create an LED indicator:
import display_driver
import lvgl as lv

lv.init()

#Get the currently active screen object
scr = lv.screen_active()
#Set the screen background color to black
scr.set_style_bg_color(lv.color_hex(0x000000), 0)

#Create an LED
led = lv.led(scr)
#Set the size
led.set_size(50, 50)
#Set the color when lit
led.set_color(lv.color_hex(0xFF0000))
# Set the brightness; range: 0-255
led.set_brightness(150)
#Center it
led.center()

#Turn on
#led.on()
#Turn off
#led.off()
# Toggle the state
#led.toggle()

# Load the screen
lv.screen_load(scr)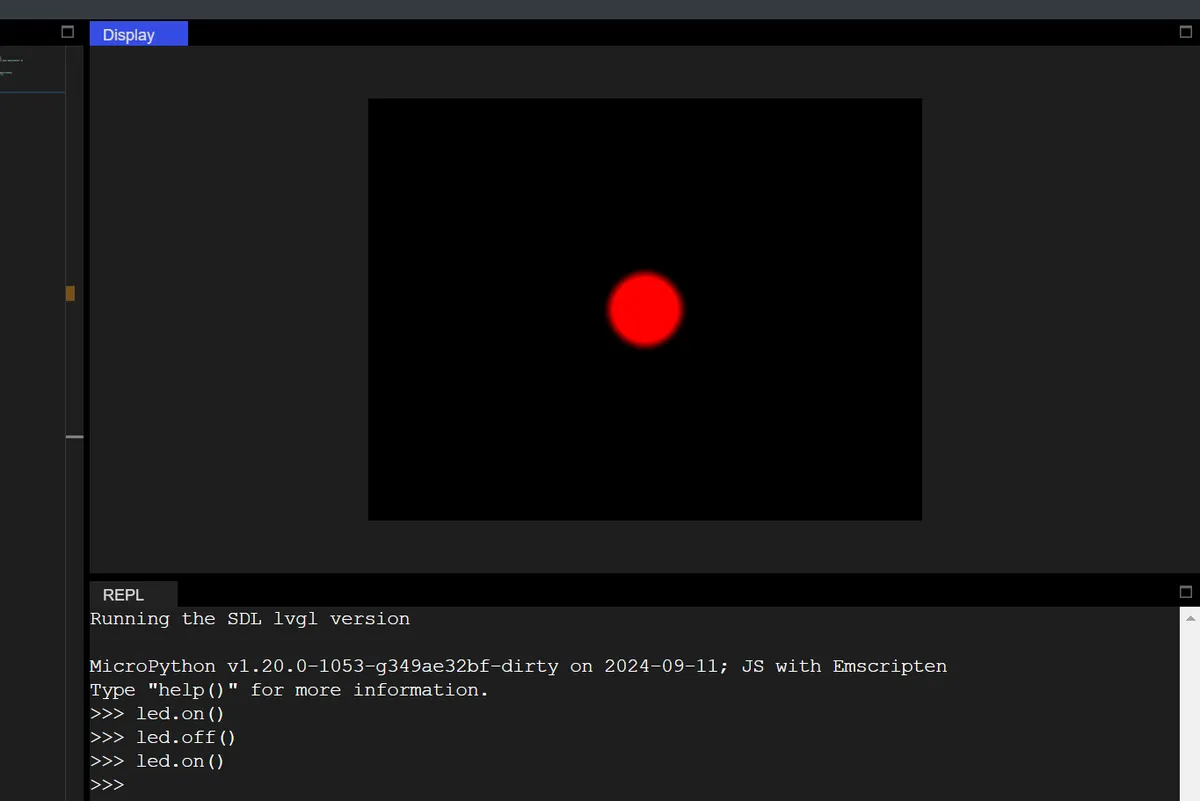
7.1 Multi-Color Water Flowing Lights with Automatic Brightness Adjustment
Create 4 LED lights of different colors to realize the functions of "sequential flowing lighting + automatic brightness gradient":
- Four LED lights are lit in sequence in a cycle (water flowing effect);
- The brightness of each illuminated LED automatically cycles from 0 to 255 then back to 0 (with gradual brightness transition);
- All LEDs that are not currently illuminated are turned off.
import display_driver
import lvgl as lv

lv.init()

# 1. Screen configuration: black background
scr = lv.screen_active()
scr.set_style_bg_color(lv.color_hex(0x000000), 0)

# 2. Create 4 LEDs, arranged horizontally
led_list = []
led_colors = [
    lv.color_hex(0xFF0000),   # Red
    lv.color_hex(0x00FF00),   # Green
    lv.color_hex(0x0000FF),   # Blue
    lv.color_hex(0xFFFF00)    # Yellow
]
# Create 4 LEDs in a loop, arranged horizontally
for i in range(4):
    led = lv.led(scr)
    led.set_size(50, 50)  # LED size
    # Horizontal layout: centered on the screen, x-axis offsets of ±80/±20
    x_offset = -100 + i * 60
    led.align(lv.ALIGN.CENTER, x_offset, 0)
    led.set_color(led_colors[i])  # Set different colors
    led_list.append(led)

# 3. Running-light control variables
current_led_idx = 0    # Index of the currently lit LED
brightness = 0         # Current brightness (0-255)
brightness_dir = 1     # Brightness change direction: 1 = increasing, -1 = decreasing

# 4. Timer callback: automatically adjust brightness + switch running light
def flow_led_timer_cb(e):
    global current_led_idx, brightness, brightness_dir

    # Step 1: turn off all LEDs first
    for led in led_list:
        led.off()

    # Step 2: adjust brightness (0→255→0 back and forth)
    brightness += brightness_dir * 5  # Changes by 5 each time; speed is adjustable
    if brightness >= 255:
        brightness = 255
        brightness_dir = -1  # Maximum value reached, start decreasing
    elif brightness <= 0:
        brightness = 0
        brightness_dir = 1   # Minimum value reached, start increasing

    # Step 3: light the current LED and set its brightness
    current_led = led_list[current_led_idx]
    current_led.on()
    current_led.set_brightness(brightness)
    print(f"LED ID:{current_led_idx+1}, brightness:{brightness}")

    # Step 4: switch to the next LED (looping)
    current_led_idx = (current_led_idx + 1) % len(led_list)

# Create a timer: run the callback every 100ms (running-light speed)
lv.timer_create(flow_led_timer_cb, 100, None)

# Load the screen
lv.screen_load(scr)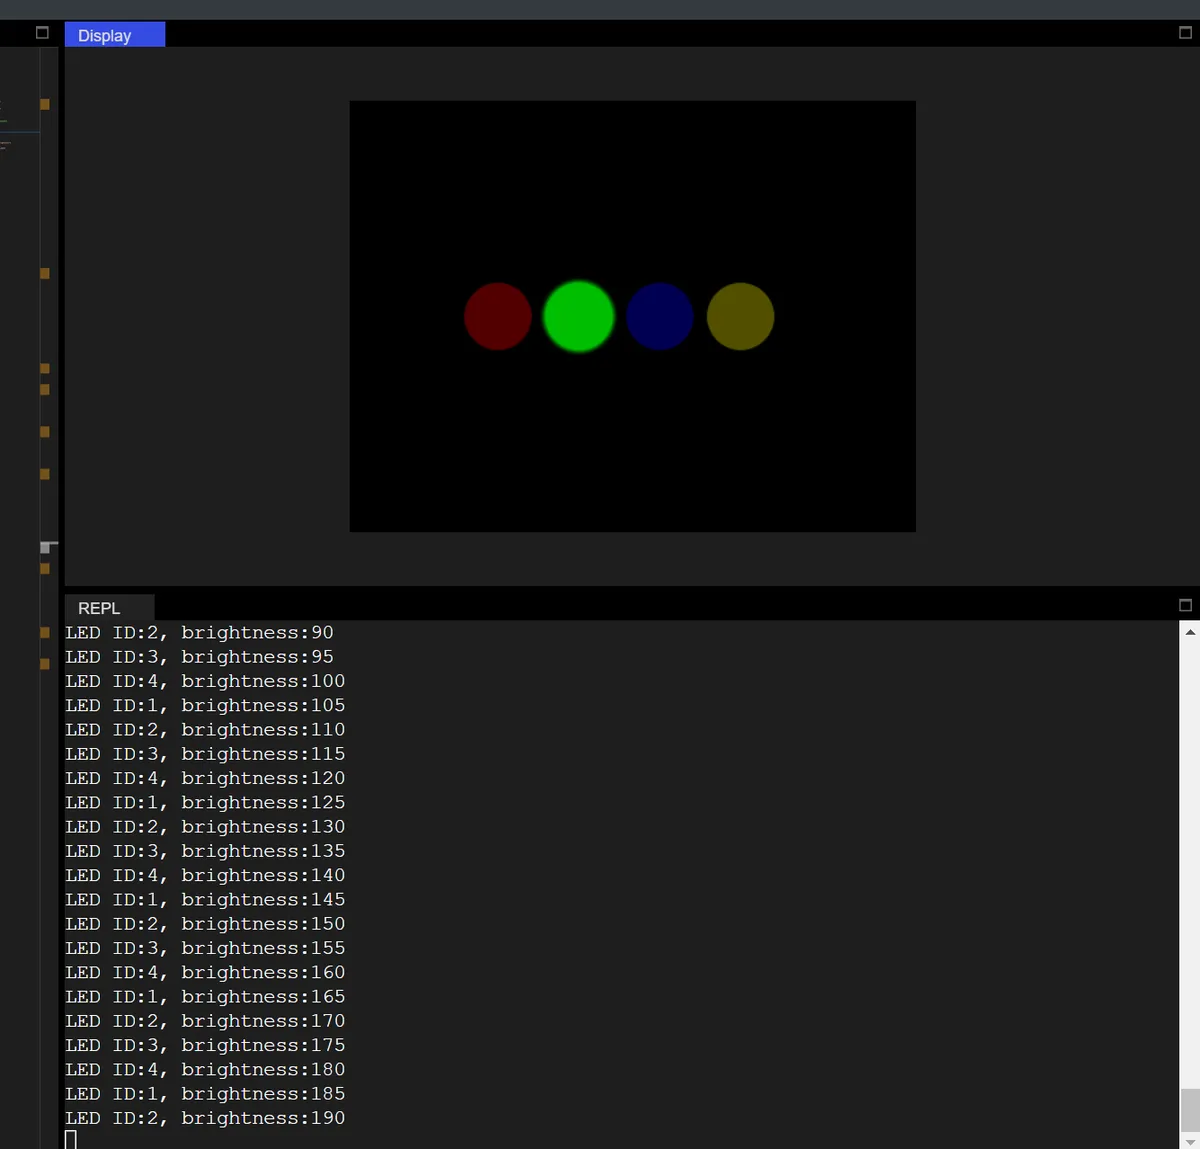
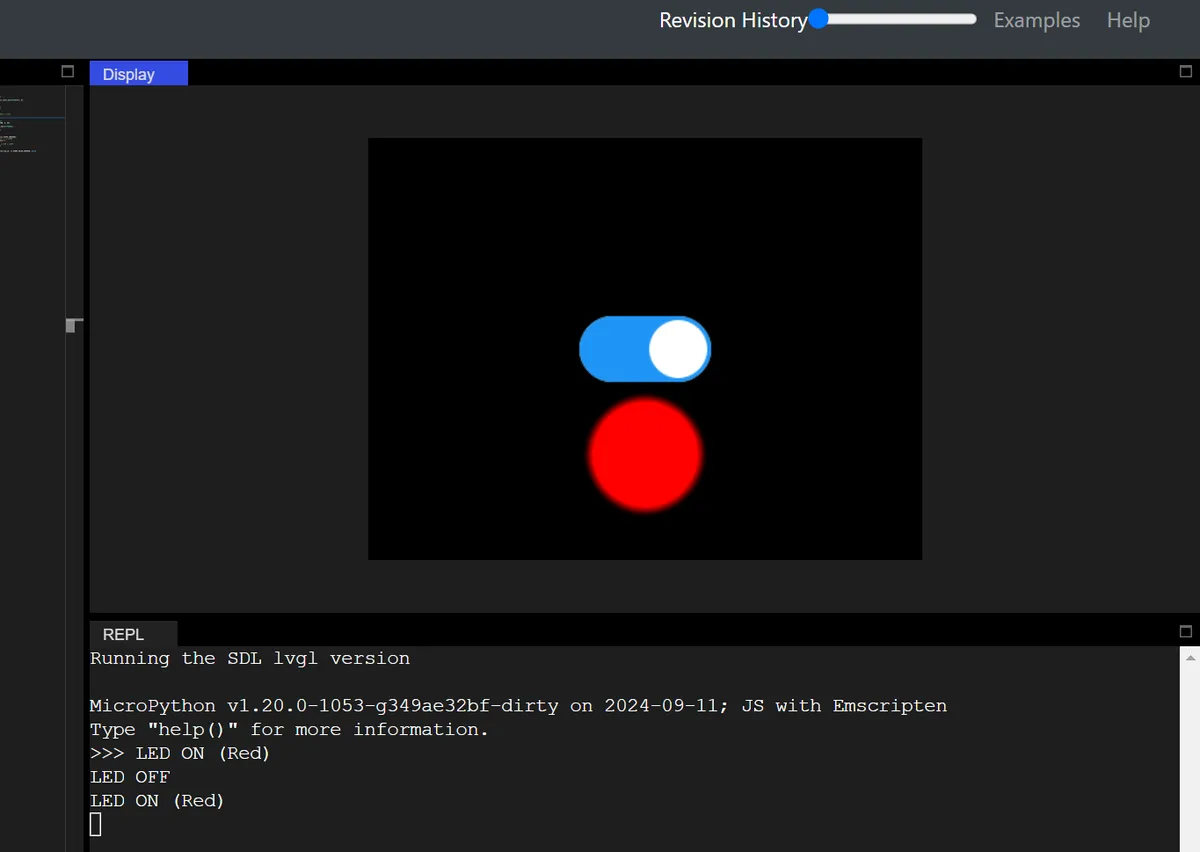
7.2 Switch Control for LED On/Off
import display_driver
import lvgl as lv
import time

lv.init()

scr = lv.screen_active()
# Black background
scr.set_style_bg_color(lv.color_hex(0x000000), 0)

switch = lv.switch(scr)
# Switch size
switch.set_size(100, 50)
# Call center to ensure accurate positioning
switch.center()

# Initialize with the given LED class, parent object is the screen
led1 = lv.led(scr)
# LED size
led1.set_size(80, 80)
# Place the LED 80 pixels below the switch
led1.align(lv.ALIGN.CENTER, 0, 80)
# Set the LED color to red
led1.set_color(lv.color_hex(0xFF0000))
# Full brightness (0-255)
led1.set_brightness(255)

# Bind the switch to the LED control logic
def switch_led_cb(e):
    if switch.has_state(lv.STATE.CHECKED):
        led1.on()  # Switch on → LED on
        print("LED ON (Red)")
    else:
        led1.off()  # Switch off → LED off
        print("LED OFF")

# Bind the switch value-changed event
switch.add_event_cb(switch_led_cb, lv.EVENT.VALUE_CHANGED, None)

lv.screen_load(scr)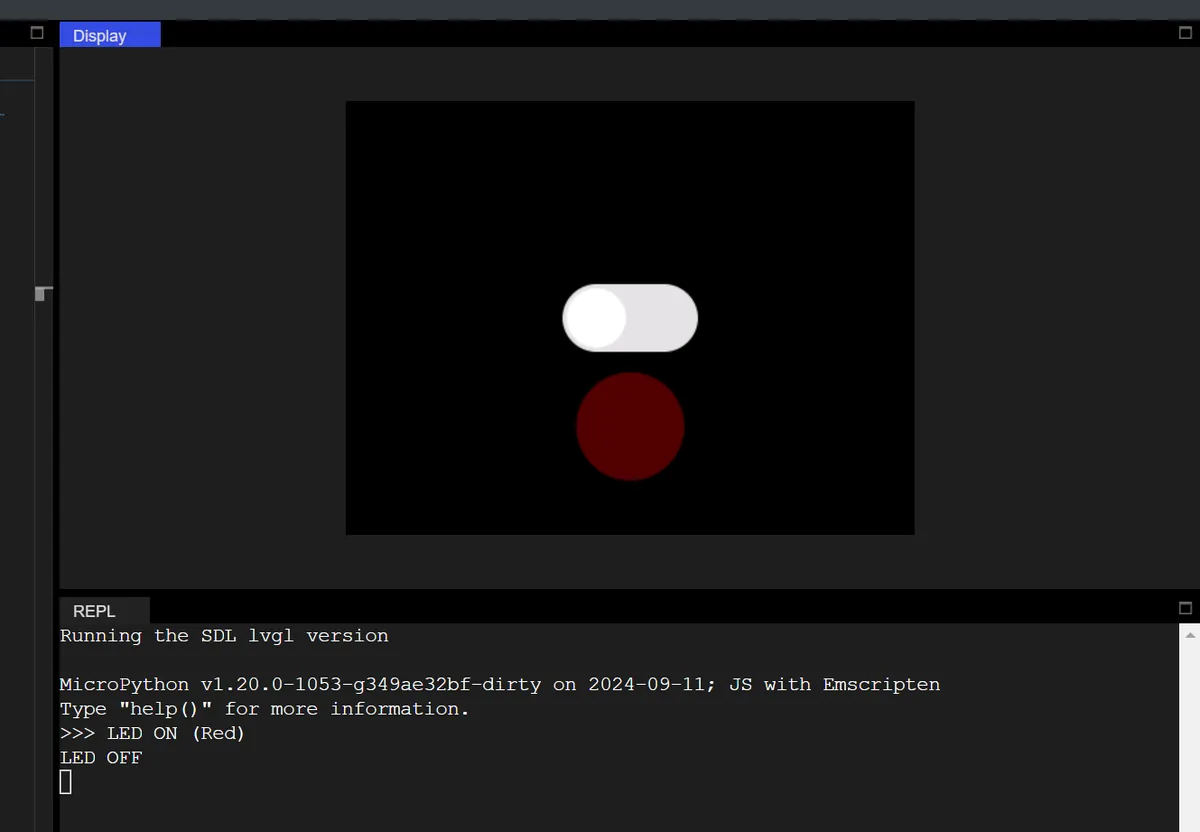
Version Record
Version Number | Modifier | Time | Content |
v1.0 | Li Zisheng | 2026/03/23 | Initialize the document. |