
- Install the software package
Prior to the start of development, make sure that docker.io and vscode are installed
# Update the package sources and install docker
sudo apt update && sudo apt install -y docker.io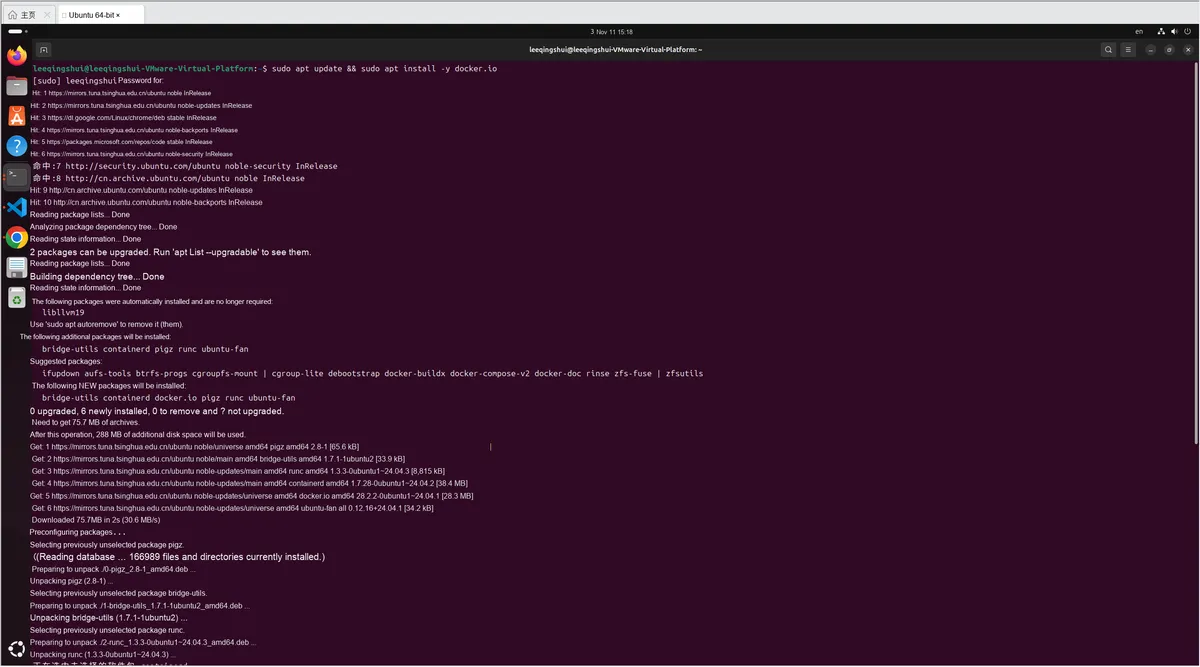
- Add user permissions
- Check permissions
Then insert the Raspberry Pi Pico development board with the burned MicroPython firmware and run
ls -l /dev/ttyACM0:
The output is as follows, indicating that the user group with the required permissions is
dialoutcrw-rw---- 1 root dialout 166, 0 Sep 3 15:52 /dev/ttyACM0- Add Permissions
Run
sudo usermod -aG docker $USERto add yourself to the docker groupRun
sudo usermod -aG dialout $USERto add yourself to the dialout group - Sign out again to activate the permissions
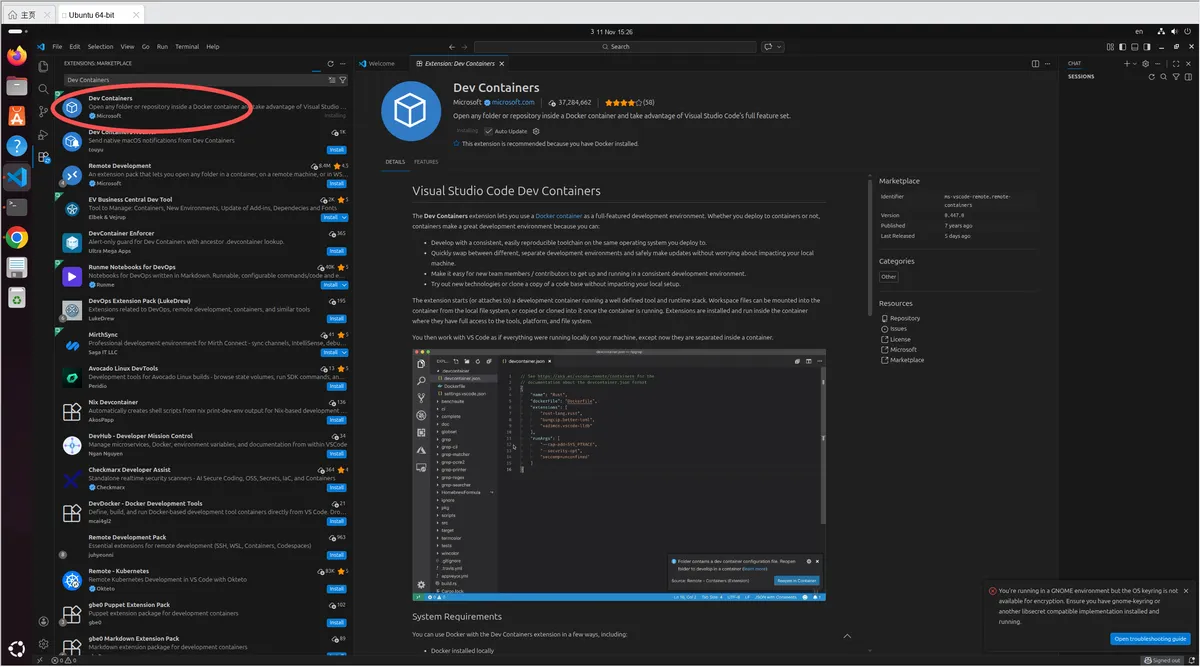
vscodeadd the extension "Dev Containers"
- Put https://codeberg.org/eoelab/cenv/src/branch/main/Denv/upython the. devcontainer folder under it into the workspace
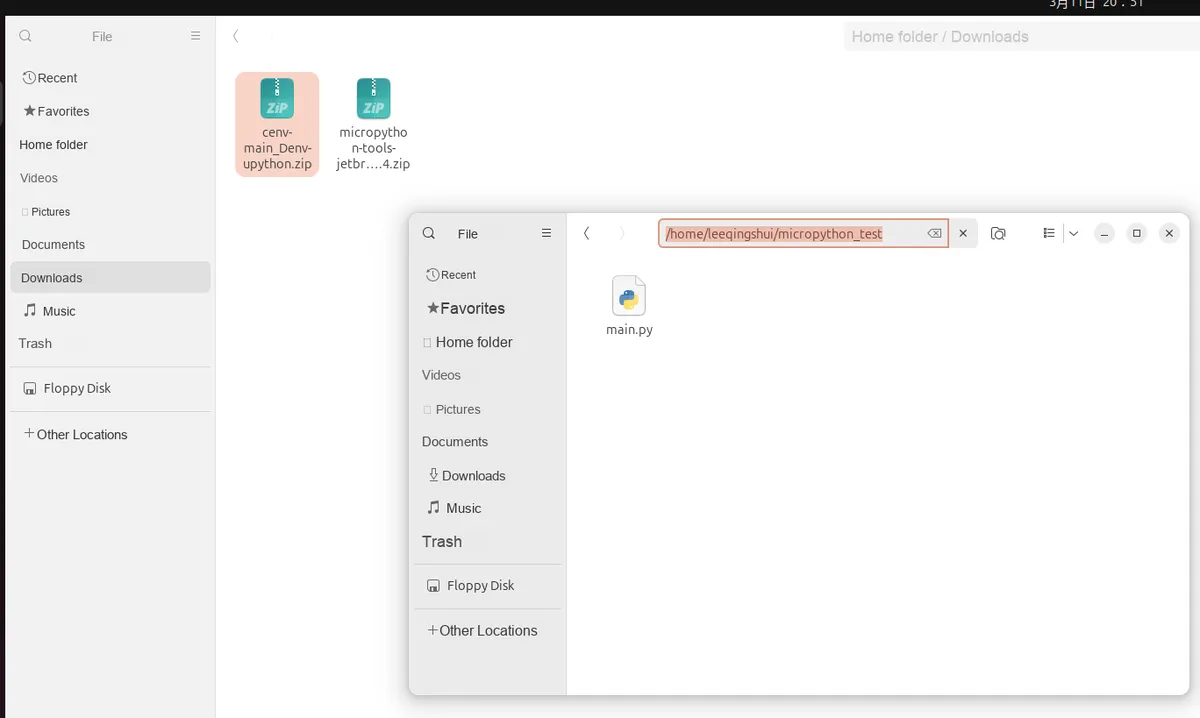
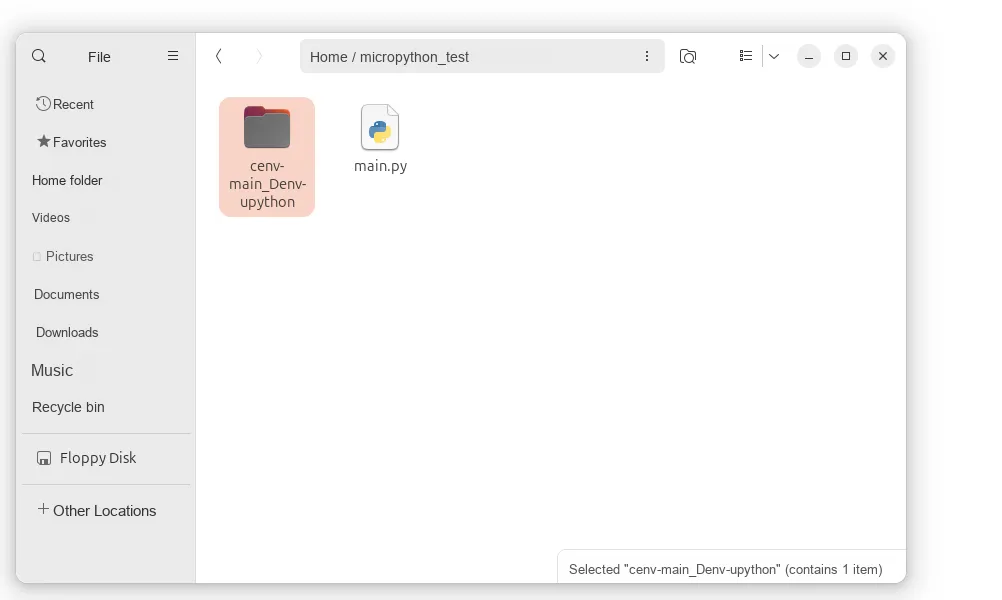
Press Ctrl+ H to show hidden files (folders with names starting with. are hidden by default), and you will be able to see the. devcontainer folder at this point.
The directory structure is as follows:
micropython_test/
├── .devcontainer/
└── main.py- Select to open the workspace folder in the container
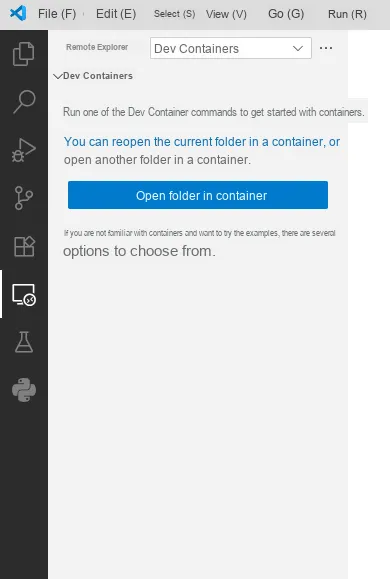
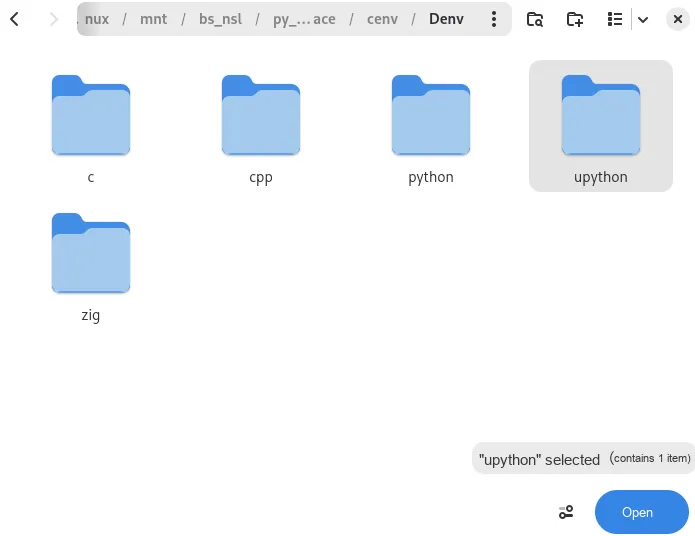
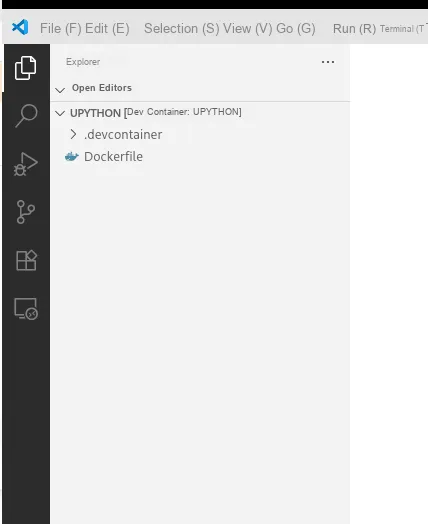
- Wait for the container to be ready. The name of the development container is displayed in the bottom left corner, with the development container log in the middle.

- Just like on a host machine, write code inside the container
MicroPythoncode
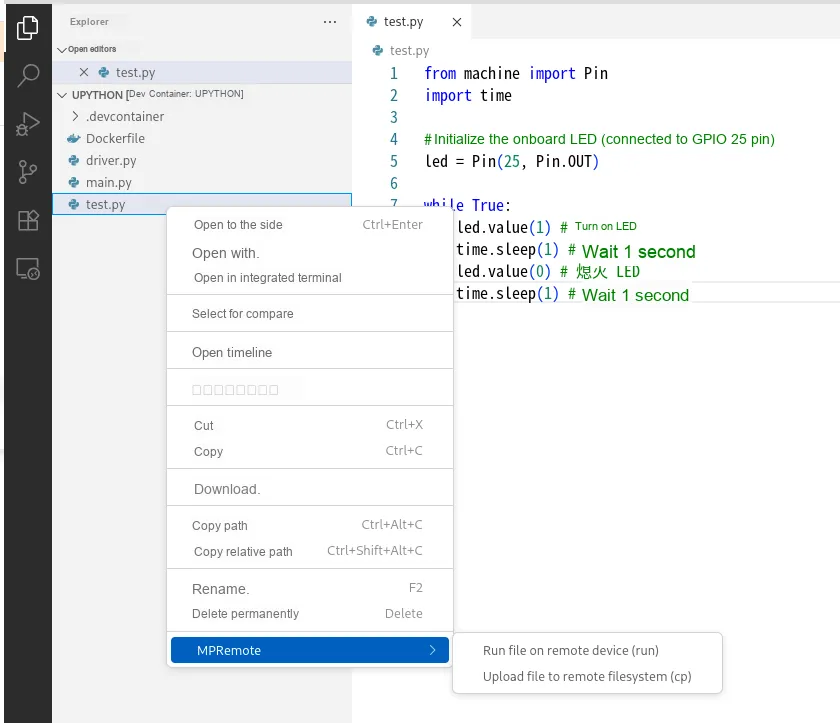
- For a single file, simply right-click and select mpremote > Run file on remote device to execute it.
- For multi-file/project development, open a terminal and run
mpremote mount. run main.pyto get started.
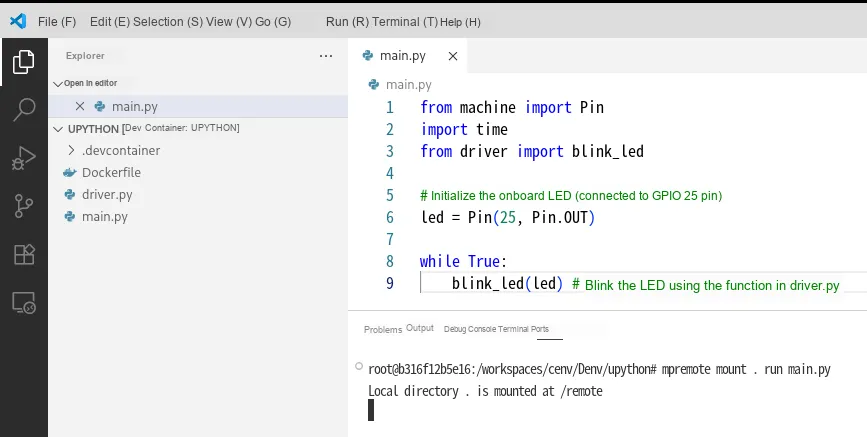
You can press Ctrl+ C to terminate the current task, switch the file to be executed at any time simply by running the command again, no extra copying is needed, and it stays synchronized with the host files, making it ideal for development scenarios.