
Imagine an educational toy that responds to colored blocks, or an exhibit where visitors pick a scene by placing a colored token on a reader. On the workbench, red produces the right response. In the venue, the same token sometimes reads as green, or as nothing. The next question is not which sensor to buy. It is what light reaches the sensor when someone actually uses the product.
On our bench we tried four small color sensors (VEML6040, TCS34725, ISL29125 and a TCS3472-labeled carrier), each on a GraftSense I2C carrier connected to a Raspberry Pi Pico running MicroPython, with colored wooden blocks as samples. Together they separate three things that are easy to confuse: reading light, assigning a color name and making an interaction dependable. They are not a controlled accuracy comparison between four chips; the hardware, code and lighting differed.
The task also comes before the part. A novice color-sorter question on Reddit starts with choosing a camera. Detecting the color of one object held over a fixed opening is a different job from finding several objects in an image. A simple color sensor is worth testing for the first; it cannot provide the picture needed for the second.
Decide what the color is supposed to tell you
If a red token means "play this scene," the prototype only has to tell apart the actual set of tokens under the intended conditions. It does not need to reproduce every visible color on a screen. That narrower requirement gives you something to test: can it distinguish these objects, including when a person places one slightly off-center?
Also decide whether you want the color of an object or the color of the surrounding light. A reflective sample needs illumination, and the sensor receives the light that comes back from it. An ambient-light application observes the illumination itself. A white LED beside the sensor may help the first task while changing the very thing the second task is trying to measure.
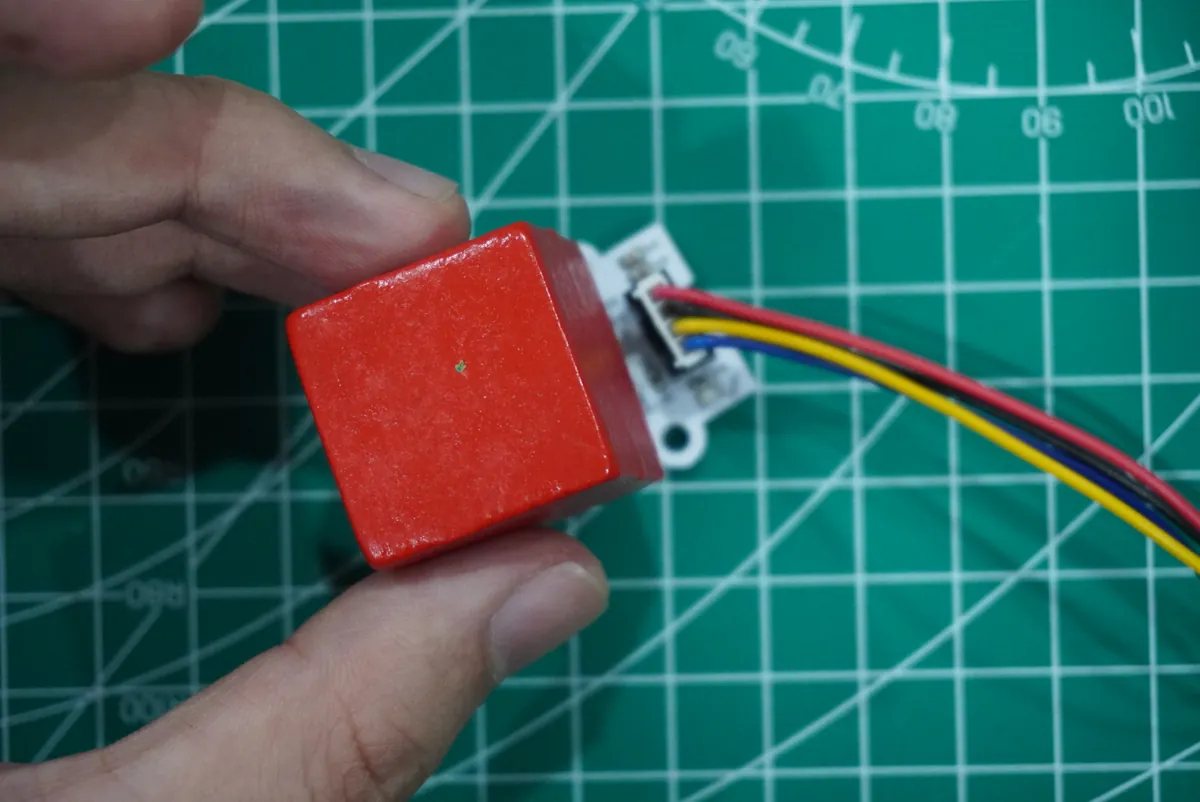
Read the results before trusting the label
The VEML6040 example used GP4 for SDA and GP5 for SCL, checked for address 0x10, and ran single measurements with an 80 ms integration time. Each cycle read red, green, blue and white channels and printed a color label. With the red block, the raw counts varied from row to row while the label stayed Red; with the green block, it printed Green. That shows the program could separate those two samples in that setup. It says nothing about the error rate across rooms, surface finishes or different units.
The label comes from the example program, not from the chip. Our code handled very low light and nearly balanced channels first, then compared channel proportions to choose a name. The low-light threshold is a rule written for the demo. A dark reading could mean a black sample, a blocked opening or too little light, and the interaction has to tell apart the cases that matter.
The printed lux value was calculated from the green channel using a sensitivity for that integration setting (0.12584 lux per count at 80 ms in the datasheet). It is context, not a confidence score for the color label. Keep raw channel values alongside every label so you can understand a wrong decision later.
Make the light and sample position repeatable
A small hood, sample guide or recessed reading area can hold the object at a repeatable distance and keep stray light out. Start with something adjustable rather than a final molded shape, and try the real tokens, including glossy or textured surfaces, before deciding how large the opening should be.
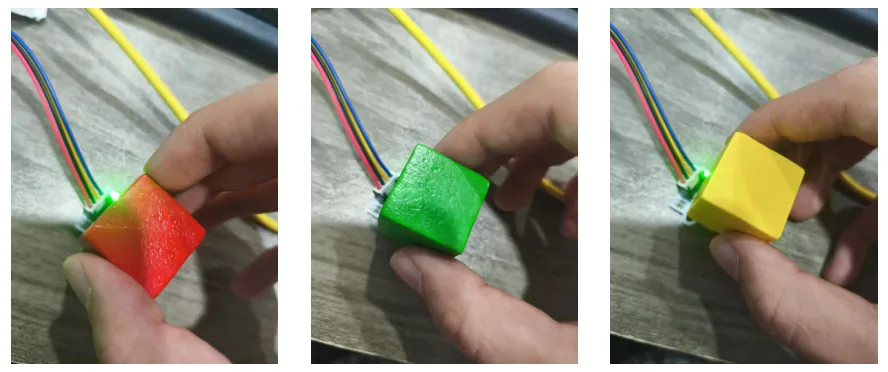
An Adafruit support thread from 2023 makes the same point: a user struggling with white and black readings was advised to control illumination, sample distance and light entering from the sides before calibrating. Calibration cannot make an uncontrolled setup behave as if its lighting never changes. Recommended working distances also belong to particular modules, so measure your own. If you add a protective window, repeat the checks through the final material.
Controllable illumination helps, if you know its state
The TCS34725 carrier has two white LEDs and a switch that controls their drive circuit, a practical way to keep the sample lit.
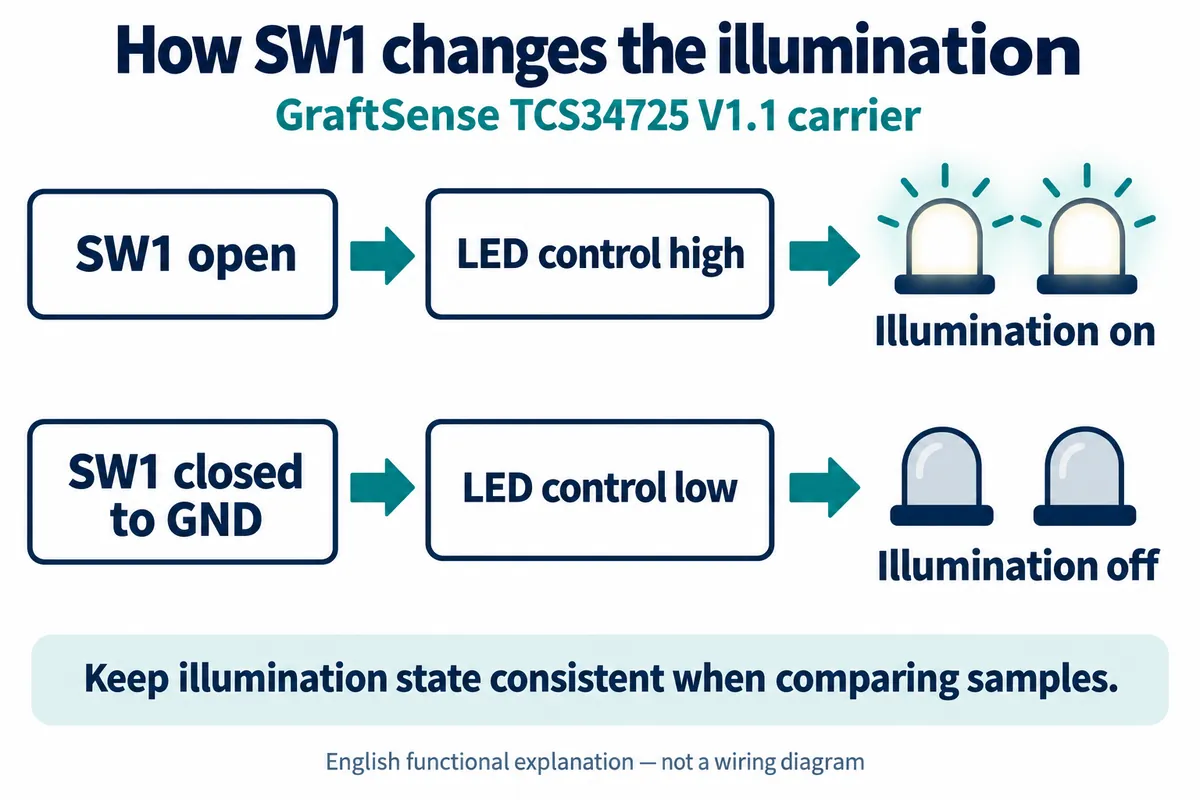
Do not read a switch's printed "ON" as a promise that the LEDs are lit. Check the light and log its state. Our software example also mentioned driving an LED from GP2, but the four-wire I2C cable did not carry that signal; keep software LED control and the hardware switch distinct when you reproduce a setup.
That example used 24 ms integration and gain 4, read raw red, green, blue and clear values, and printed computed color temperature, lux and a hex color string. These are different representations of the same reading, not four independent accuracy checks. A hex color can drive an on-screen indication; it is not a verified paint match, and the color-temperature figures are not professional lighting measurements. We photographed blue, red, yellow and green samples, but did not keep a labeled log tying each printed line to a sample, so we cannot quote a success rate.
Keep the uncertain results
The ISL29125 example looked for address 0x44, read RGB channels and applied proportion thresholds to assign a few names. Its output included Blue, Green and many Unknown entries. For a product designer, those uncertain results are as useful as a clean "red."
Unknown means the rules did not assign one of their defined names. It does not identify the cause: the sample may sit between classes, be badly positioned, be poorly lit or fall outside what the simple rules handle. Record the sample and conditions with the values, then decide whether to improve the fixture, change the rules or ask the user to reposition the token. One more caution: one of our startup captures named a different range and resolution from the program we later used, so the exact configuration needs a fresh, matched capture before any repeatable performance claim.
The TCS3472-labeled carrier printed Unknown and then green, blue and red classifications. Its RGB values were scaled relative to the clear channel, and its light value was the raw clear count, so its numbers are not comparable to the VEML6040's raw channels and are not calibrated display colors. Its thresholds checked red and green before yellow, so a yellow sample could be caught by an earlier rule. Test every intended class and check decision order instead of assuming a function that mentions yellow can recognize it.
Plan the next trial around your tokens
Keep exposure settings fixed while collecting an initial set of readings. Integration time sets how long light is accumulated and gain sets sensitivity; changing either midway changes what the numbers mean. Check that signals sit well above darkness and below saturation. Longer integration is not automatically better if it clips the reading or slows the interaction. Adafruit's color-sensor guide explains these controls and separates incident-light from reflected-light uses.
Use the objects people will actually hold, not convenient printed swatches. For each, record several placements at the intended position, then vary distance, angle and room lighting on purpose. Keep some samples aside while setting the rules and test those afterward. Decide in advance what the interface does with no object, an unsupported color or a doubtful reading.
For a color-driven toy or interactive exhibit, a sensible next prototype holds one token at a fixed position, uses controlled illumination and gives a clear retry response when the reading is ambiguous. For paint matching, or a task that must locate objects across a scene, these tests leave much larger questions open, and a different sensing approach may be the right call.